
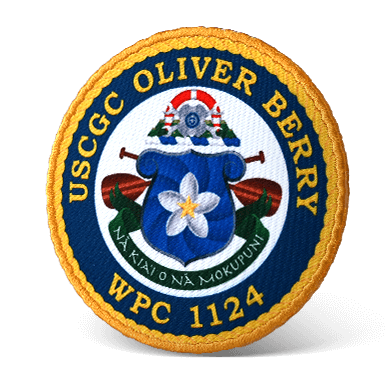
Embroidered Patches
Airsoft Patches
Chenille Patches
PVC Patches
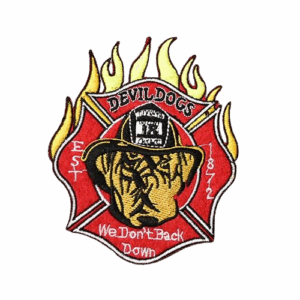
Fire Department Patches
Hat Patches
Iron On Patches
Letterman Patches
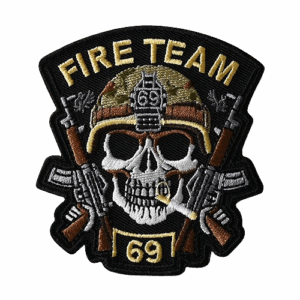
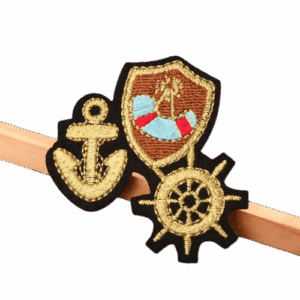
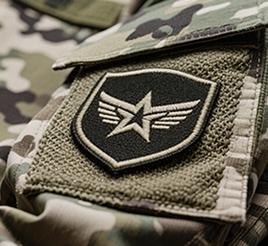
Military Patches
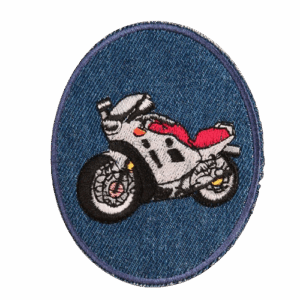
Motorcycle Patches
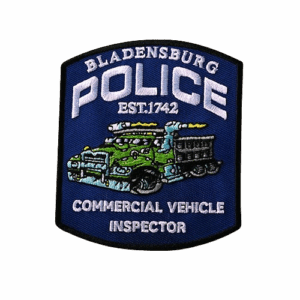
Police Patches
Printed Patches
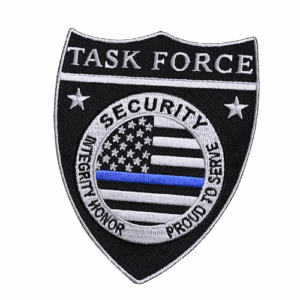
Security patches
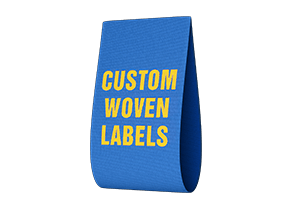
Woven Labels
Woven Patches
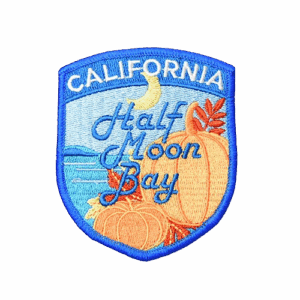
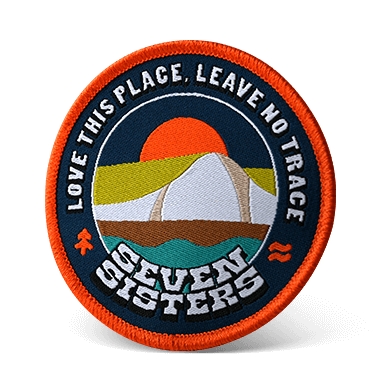
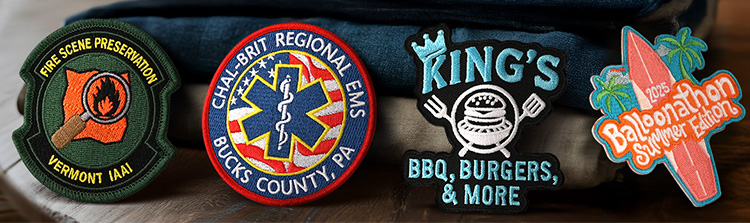
Custom Patches
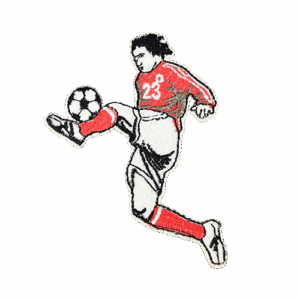
Sport Patches
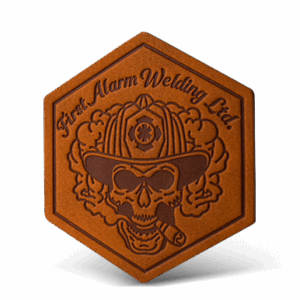
Leather Patches

Heat Transfer Patches
Blank Patches
Fast, clean branding you can apply at home or on a scale
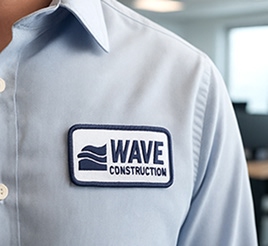
You can brand uniforms, upgrade apparel, or personalize gear with iron-on patches (also called heat-seal patches). From workwear and school uniforms to streetwear drops, AquaPatches (a product of AquaDigitizing) makes premium iron-on patches that bond cleanly, hold up to real-world wear, and look cool.
Iron On Patches: What Are They?
Patches are fabric emblems backed with heat-activated adhesive. Heat press or household iron melts the adhesive and fuses the patch to the garment. With no stitching, you get a durable, professional finish.
It’s best for cotton, cotton-poly blends, denim, canvas, twill.
Wear caution with nylon, leather, technical shells, and heavily waterproofed fabrics (they may need Velcro® backings).
AquaPatches Iron On Patches: Why Choose Us?
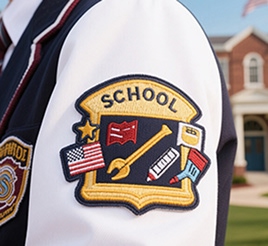
Iron On Use Cases
Here's how to iron on patches (general guide)
Always check your garment’s care label and test it on a hidden area. If the fabric is heat-sensitive, choose Velcro® or sew-on.
You’ll need a household iron or heat press, a hard flat surface, and a thin pressing cloth (e.g., cotton).
- Prep:
- Put your iron on a high cotton setting without steam.
- Put the garment on a firm, heat-safe surface (not an ironing board).
- Remove moisture and wrinkles by prepressing the area.
- Coverage:
- Put the patch down (adhesive side down).
- To protect the threads and fabric, cover it with a thin cotton cloth.
- Put firm pressure on:
- With steady, even pressure, press for 15–25 seconds.
- Press the backside for 10–15 seconds to seal through the fabric.
- Check and cool:
- After 60–90 seconds, let it cool.
- Look at the edges. Keep pressing for 5–10 seconds if an edge lifts.
Heat presses are the best for consistent bonds. A longer press helps with thick garments (denim, canvas). It’s safer to use lower heat and longer time on delicate items.

Iron On Success Tips
We're ready to turn simple caps into branded favorites.
AquaPatches iron on patches give you professional results with DIY ease, whether you're outfitting a team, launching merchandise, or refreshing uniforms. Send us your design and deadline—we'll help you choose the right fabric, application settings, and finishes.
FAQs
Not when applied correctly to compatible fabrics. Follow the press steps and care tips; add a perimeter stitch for extreme use.
Yes. A heat press is ideal, but a household iron works well with firm pressure, no steam, and careful timing
Choose sew-on or Velcro® backing. We’ll advise the safest option for your garment.
Yes—share Pantone codes or brand guidelines and we’ll match threads closely.
Absolutely. We keep your digitized file and specs for fast, consistent reprints.
Subscribe to Our Newsletter
For updates, special offers and promotions, please enter your email.